Google Classroom has become a digital staple in education, with over 150 million users globally. But beneath its simplicity lies a critical vulnerability: Accidental deletion of classes is permanent. Once a class is deleted, there’s no native way to recover it — not the grades, assignments, or conversations. Only files stored in Google Drive remain.
Broader threats compound the issue. The Center for Information Security Multi-State Information Sharing and Analysis Center (CIS-MS-ISAC) 2025 report found 82% of K–12 institutions experienced cyberthreat impacts between July 2023 and December 2024. These numbers reinforce a hard truth: Digital classrooms remain alarmingly fragile without intentional backup and recovery strategies.
Today, protecting digital classrooms means going beyond traditional backup — it means strategically storing and securing data to reduce risk, ensure recoverability, and support compliance.
What Happens When You Archive a Google Classroom?
Archiving a Google Classroom is less about removal and more about organization. It lets teachers remove inactive courses from the dashboard without permanently erasing them. For administrators, consistent use of archiving policies helps control data sprawl, reduce the attack surface, and keep classroom environments safer and more manageable.
How to Natively Archive a Class
There are multiple ways to go about archiving a class. It can be done through a computer or another device, whether Android or iOS, but the process is largely the same across the board.
- Go to classroom.google.com.
- On your Google Classroom dashboard, locate the class you want to archive.
- Click the three dots (or “More” / “Options”) menu on the class card.
- Select Archive.
Note that before archiving, you have the option to copy a class first. Once archived, the class moves out of the active view but remains retrievable and viewable by teachers and co-teachers. Students, however, cannot delete or archive classes.
How to View an Archived Class
Archived classes can still be viewed, accessed, or restored down the line. Here’s how:
- Go to your Google Classroom dashboard and go to Menu.
- Scroll down, and you will find your Archived Classes. This tab will only be available when there are archived classes.
What Happens to an Archived Class?
Once archived, a class is removed from the main dashboard but remains accessible. Files tied to the class stay in Google Drive, and class calendars remain visible in Google Calendar unless removed.
Archived classes can also be permanently deleted, but that decision carries weight. Once deleted, a class cannot be restored through Google Classroom. Only the primary teacher has the authority to perform deletion, which creates a safeguard but also highlights a gap. Without an external backup, any deleted class is gone forever.
What If a Classroom Is Accidentally Deleted?
Accidental deletion in Google Classroom is both inconvenient and irreversible.
While Google Takeout can be used as an export and download tool for active Classroom data, it’s not a full backup and recovery tool for organizations at scale. Built-in functionality requires manual intervention, but if you weren’t able to download the data before it was deleted, you could be out of luck.
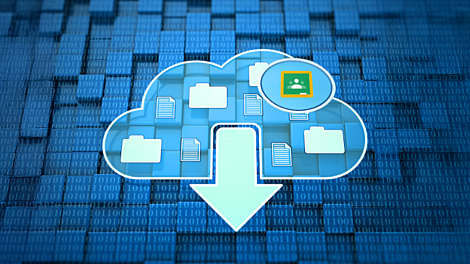
Fortunately, backup fills that gap. With ransomware, phishing, and accidental deletions being common occurrences, schools need more than exports — they need comprehensive, automated backup that can restore full classrooms or just individual files exactly as they were.
How to Back Up Google Classroom
With AvePoint Cloud Backup for Google Workspace, you can back up all of your Google Workspace data four times a day. Our flexible storage options include built-in managed storage and the ability for you to select your preferred cloud destination, such as Azure, AWS, Google Cloud, and IBM S3 and IBM Cloud Object Storage — giving you full control without requiring external setup.
To ensure complete protection and reliable recovery of your Google Classroom data, follow these best practice steps:
- Choose a backup solution that supports Google Classroom content (assignments, grades, announcements, people).
- Set up automated backups daily at regular intervals to create frequent recovery points.
- Ensure the backup includes full fidelity: metadata, permissions, users, calendar events, and Drive files.
- Test restores periodically to make sure everything works: Try restoring full classes, single assignments, or even just certain announcements to confirm that your recovery process is reliable.
Smarter Safeguards for Google Classroom
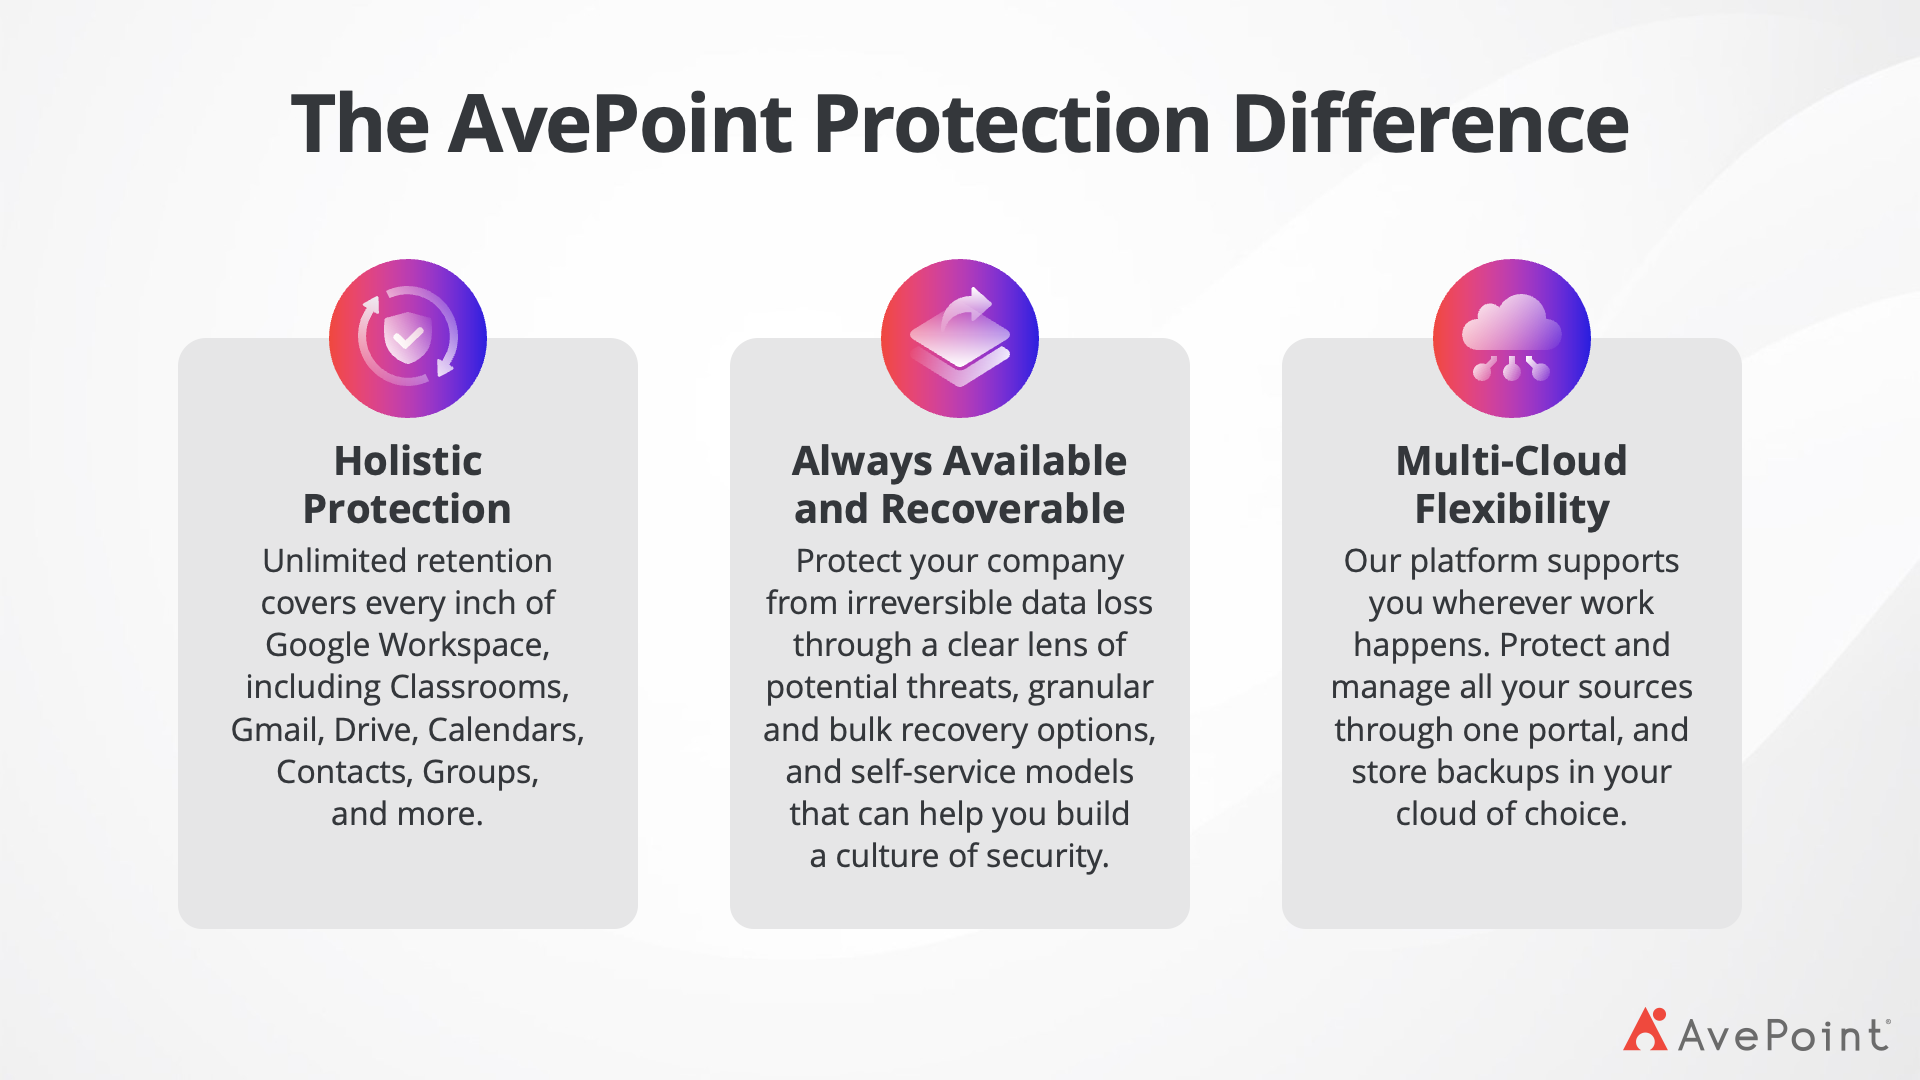
AvePoint isn’t just a backup vendor but a trusted security advisor. Our built-in proactive protection helps prevent the need for recovery before issues even arise. When the need for recovery does arise, it is never a scramble and feels as simple as clicking “Undo.” The advantage is not just in capturing the data but also in making it instantly recoverable. Whether an entire class or a single assignment, IT admins and end users can search, preview, and restore lost content in minutes. This agility turns what could have been weeks of lost instruction into a minor hiccup.
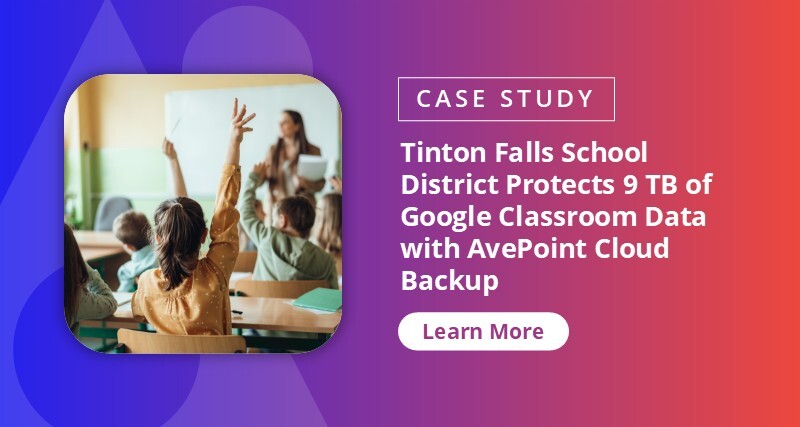
This was the experience of Tinton Falls School District, which has managed to protect over 9 TB of Google Classroom data using AvePoint. According to Dennis Gilliand-Duarte, the district’s Network Administrator, the seamless restoration process and automated daily backups have significantly reduced stress and ensured teaching continuity.
“If you’re protecting highly classified information for public sector and high-profile enterprise organizations, then I have confidence our data will be held to the same standard.”
The benefits also go far beyond automation and fast restores. With the AvePoint Confidence Platform, schools gain:
- Proactive risk detection. Identify misconfigured sharing settings, external access risks, and potential vulnerabilities before they escalate.
- Smart lifecycle management. Automatically apply retention policies and governance rules to reduce data sprawl and keep environments audit ready.
- Global compliance support. Choose from 14 data centers worldwide to meet residency requirements and leverage built-in tools for regulations like GDPR.
- Cyber resilience. Built-in ransomware detection and rollback capabilities ensure schools can recover clean versions of data instantly, minimizing disruption and stress.
Together, these features empower IT teams and educators to not only recover data but also govern it intelligently, reduce risk proactively, and build resilience into everyday learning.
Ready to protect your Classrooms?
Explore how the AvePoint Confidence Platform helps organizations meet evolving compliance and security demands across Google Workspace.

Alec brings years of professional experience across several different software and technology verticals. While he began as a software engineer, modernizing legacy codebases in aircraft systems, Alec now works as a Product Strategy Lead at AvePoint focused on backup, data resiliency, and enterprise solutions. Alec earned a Bachelor’s Degree in Computer Engineering from Villanova University and an MS in Technology Entrepreneurship from the University of Notre Dame.