
Microsoft 365 adoption is widespread. Over 2 million companies use the collaboration suite today, proof that many have come to rely on the platform in their organizations’ day-to-day operations.
However, many organizations are struggling to maximize the value of their investment, as discovered in a new Gartner survey, Top 10 Insights From the 2023 Microsoft 365 Survey.
The survey included 150 organizations using Microsoft 365 and revealed key insights into how companies leverage, govern, and support this critical business application. The research highlights common struggles that organizations face in optimizing Microsoft 365 and provides recommendations on governance models and best practices to drive higher value.
Based on Gartner’s findings, let’s look at what companies can do to maximize their Microsoft 365 investment.
Optimize Microsoft 365 Impact
At the peak of the COVID-19 pandemic, when everybody worked from home, many businesses found an increasing need for collaboration. In April 2021, Microsoft Teams’ daily active users spiked by 93% to 145 million, about a year after the start of the pandemic. This number has further increased to 300 million in 2023.
In 2023, Microsoft saw a 13% year-over-year growth in subscriptions and licenses, which reflects the increasing use of Microsoft 365 among organizations.
This increase should not be a surprise: Gartner’s findings show that 67% of respondents either saw a “transformative change” or a “significant change.” While many organizations are concerned with adoption, Gartner also discovered that the organizations that measure usage and adoption were more likely to report Microsoft 365 had a “transformative impact” than those that “do not.”
Limited user education on Microsoft 365 can also impact the perceived value of the platform within an organization. After all, if an employee doesn’t know how to use the platform, they won’t use it and won’t then know its benefits. As Gartner concludes in the study, “Microsoft 365 has a wealth of capabilities that, when leveraged correctly, can bring real business benefit.”
Takeaway: Microsoft 365 is a great collaboration tool, but organizations must measure usage and adoption and continue to see where improvements are needed to create a positive impact.
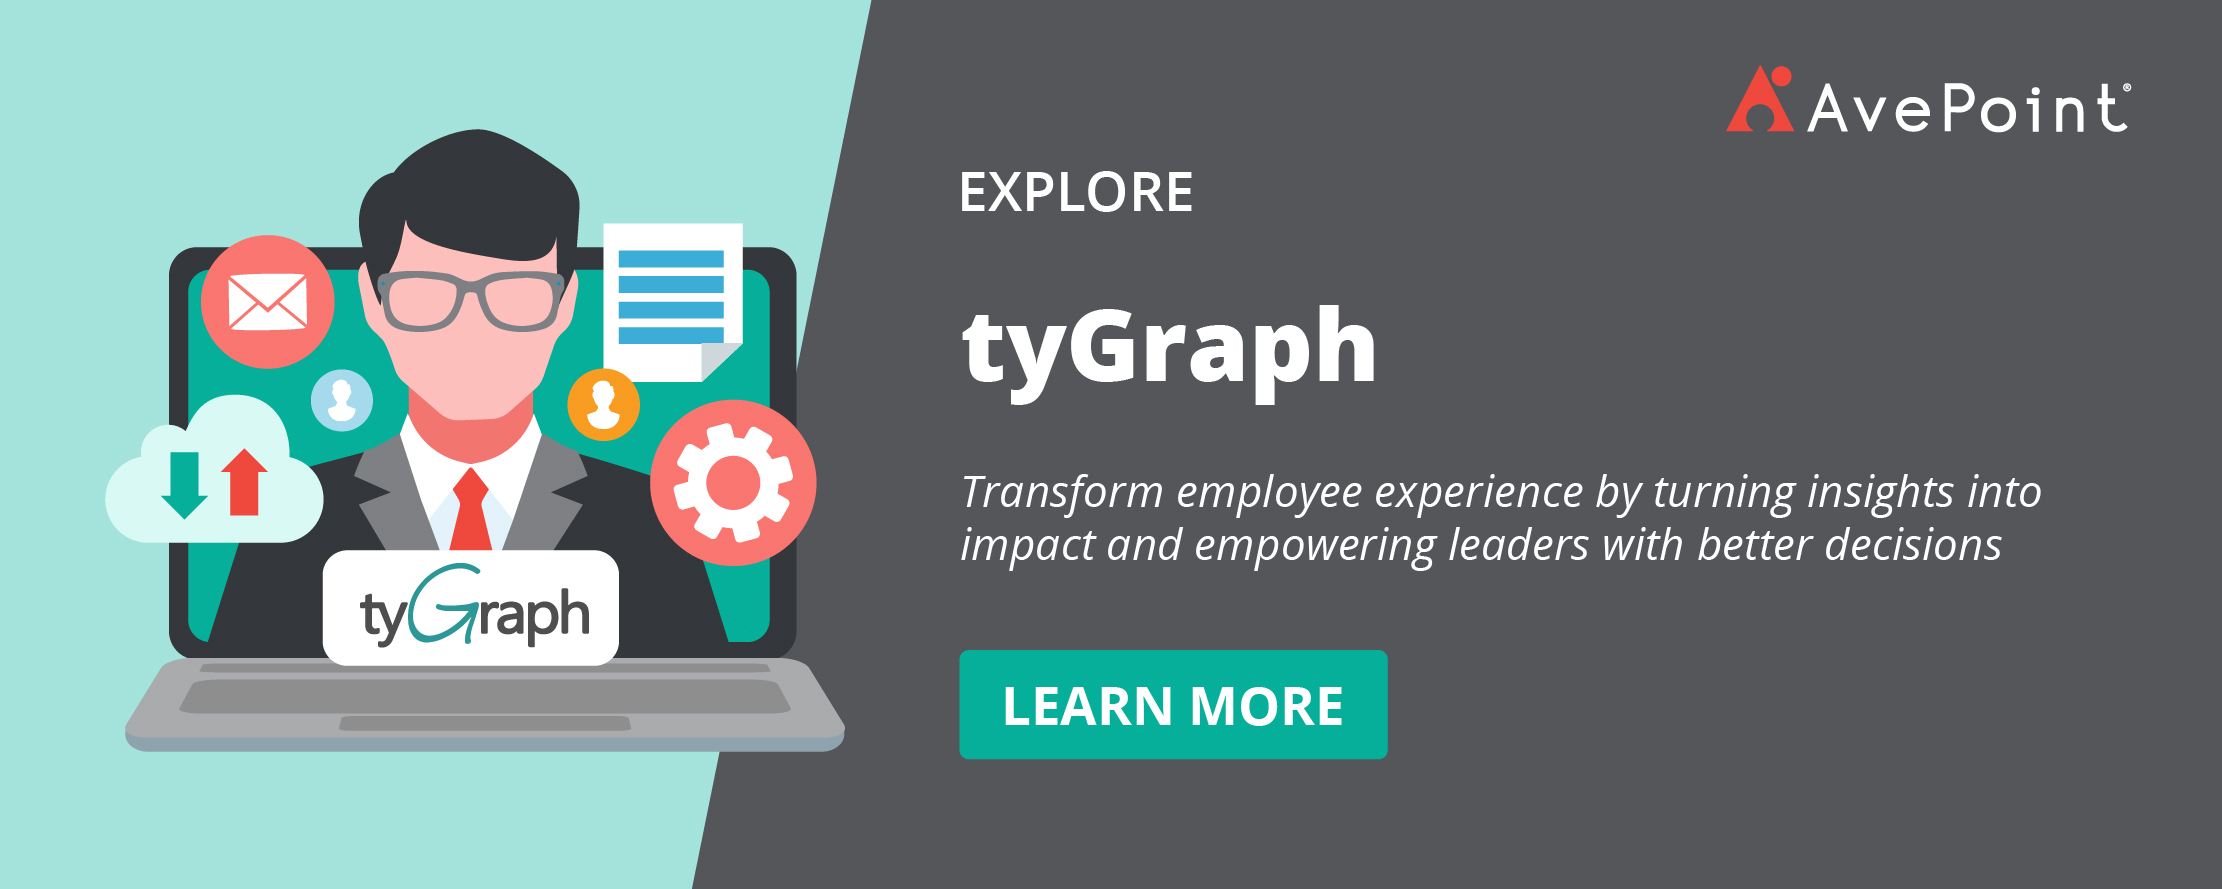
Recommended Next Step: Take a look at how your team is currently using Microsoft 365 and identify small wins for improvement that can make a difference. For example, perhaps users are spending longer than needed on the intranet because they can’t find what you need. AvePoint tyGraph can help you analyze and assess the current Microsoft 365 usage so you can flag these issues and make changes – like improvements to navigation or site layout – that can allow your employees to fully harness your digital workplace technology investments.
Improve Microsoft 365 Governance
Deploying Microsoft 365 successfully requires a governance framework. It will provide a structure that ensures the alignment of business objectives with IT capabilities, thereby maximizing the platform’s value.
However, the top challenge among companies in the Gartner study was inadequate governance:
64% cited inadequate support/governance as one of their top three risks.
Not implementing governance and policies like conditional access to workspaces or general lifecycle controls will manifest in high-risk scenarios, including oversharing, data loss, and content sprawl.
Takeaway: Organizations that successfully leverage Microsoft 365 have an established governance framework. Very mature organizations continuously review this framework to ensure its alignment with overall needs — which is especially true now as more organizations bring on generative AI solutions like Microsoft 365 Copilot.
Recommended Next Step: Scaling and implementing governance across Microsoft 365 can overwhelm IT. Consider products like Cloud Governance, so employees continue to adopt Microsoft 365, but within the guardrails the organization sets.

Transform support models for Microsoft 365
As a cloud-based platform, Microsoft 365 offers different challenges and opportunities compared to traditional on-premise systems. The shift requires a new approach to support, focusing on proactive measures like continuous monitoring and real-time problem resolution.
Still, 60% support Microsoft 365 through legacy approaches like infrastructure teams or siloed IT services support groups. For organizations using such legacy support systems for Microsoft 365, only 30% have high confidence in their support model.
This tells us that only a small group of companies have adopted the right support system for Microsoft 365: just about 20% have a dedicated Microsoft 365 product team with a product owner. But for this set of respondents, 63% are highly confident about their support system.
Takeaway: Continuing to use the same IT operations model and systems for legacy technology will not only be a disservice to IT teams but also to the organization as a whole. If IT leaders don’t re-evaluate and optimize the IT structure for the future, it will keep the organization from seeing maximum value from Microsoft 365.
Recommended Next Step: Whether you are a large enterprise or a small organization, transforming an IT model is challenging. And if created without input from business stakeholders, it could create more conflict. Create a “community of practice” and ensure IT and the business are aligned. Beyond a community of practice, deploy products like AvePoint EnPower that will help set up your model for the future but give you the flexibility to change when you are ready to.

Evaluate the potential value of AI
Since the explosion of ChatGPT, an increasing demand for AI is seen in organizations today. For 82% of organizations, Microsoft 365 Copilot is one of the top three features that could be most valuable to the organization.
Because of the expected surge in demand for such technology, it is expected that by 2027, 25% of mature digital workplaces will have leaders with experience in AI, data, and analytics. These functionalities are also anticipated to drive productivity among employees.
However, the use of generative AI, such as Microsoft Copilot, requires the readiness of the infrastructure. Despite expected benefits to organizations, if not managed properly, AI could cause adverse impacts, such as compliance and data governance risks. In fact, another Gartner study revealed that by 2025, generative AI will cause a higher demand for cybersecurity sources, with over 15% increase in spending on application and data security.
Takeaway: While many companies today want to leverage AI, careful assessment and preparation are necessary to ensure that the enterprise data, infrastructure, and employees are in the best position to welcome this new technology. Without backstepping and ensuring all aspects of the infrastructure are properly set up, companies may miss achieving AI’s potential to drive positive business results.
Recommended Next Step: Establish a core objective and a stakeholder group to manage AI. Then, ensure you have proper structure in place for AI — assess data and processes to ensure your organization is prepared for whatever challenges AI will bring.
Unlocking the Value of Microsoft 365
Microsoft 365 can deliver tremendous value to organizations, but many companies struggle to maximize their investment. Key takeaways from the Gartner research highlight the importance of training, governance, security policies, support models, and evaluating new technologies like AI.
With the right strategies and organizational commitment, Microsoft 365 can transform business operations and employee productivity.
Learn more about how you can maximize your Microsoft 365 investment and boost efficiency in this webinar: