With the rise of Software as a Service (SaaS) offerings, SaaS-based migration tools have emerged as a popular choice for businesses looking to streamline their data migrations. Whether consolidating services, merging multiple tenants, or optimizing your cloud presence, SaaS-based migration tools can help your business simplify and streamline your data migrations.
In this blog post, we will explore the benefits of using SaaS-based migration solutions and how they can help your business achieve successful cloud-based migrations. We will discuss the scenarios in which these tools are best used and how they can help you optimize your data migrations.
Ready to streamline your cloud migrations? Read on to discover how SaaS-based migration tools can drive better migrations for your organization.
Benefits of SaaS-Based Solutions for Migrations
SaaS-based migrations offer a faster and more standardized approach to migration, without relying heavily on already overburdened IT teams. With pre-built connectors, automation capabilities, and best practices to simplify data migration, SaaS migration providers offer these core benefits that can help organizations optimize their resources and adapt to changing demands.
Benefits include:
- Simplified migration: SaaS streamlines the complex migration process, reducing the time and effort required to transition to a new SaaS environment.
- Scalability: SaaS solutions can scale resources up or down based on business needs, allowing organizations to adapt to changes in migration requirements quickly.
- Minimized downtime: Efficient data transfer capabilities and pre-migration validations help reduce downtime and ensure a seamless transition for business-critical operations.
- Reduced burden and effort: SaaS providers handle application updates, patches, and maintenance, ensuring that businesses have access to the latest features and security enhancements without any additional effort and resources.
Without needing much in-house technical skills, SaaS-based migration solutions empower businesses to optimize their resources, adapt to changing demands, ensure operational stability, and concentrate on driving their core business activities forward.
When to Choose a SaaS-Based Migration Solution
SaaS-based migrations are generally more straightforward and ideal for organizations that prefer a guided and standardized approach since they are focused on speed and ease of migration.
If your migration involves the following scenarios, choosing SaaS-based migration software may offer simplified migrations for your organization:
You do multiple migrations in a year
Mergers and acquisitions (M&As), managed service providers (MSPs), and other organizations undergoing or conducting multiple migrations should standardize and streamline their migration process to complete concurrent migration projects.
SaaS-based migration solutions provide a consistent approach to migrating and consolidating data and applications from different entities, helping M&As with multiple systems and applications to smoothly integrate and simplify the complexity of merging various data sources and systems.
SaaS-based migration solutions can be cost-effective option for MSPs, allowing you to buy in bulk and spread licenses across multiple clients through the year; when you get a new migration client, simply login to the software and the tool is ready for you. These solutions also allow for efficient and repeatable migration processes, enabling migration factory MSPs to scale migration projects without increasing workforce and resources.
When you’re using a multi-environment strategy in Power Platform
No-code and low-code tools like Microsoft Power Platform allow organizations to solve business challenges in the cloud. Organizations must implement best practices like incorporating a multi-environment strategy to ensure better adoption of Power Apps, Power Automate, and other Power Platform tools.
To properly implement a multi-environment strategy, you must consistently ensure the successful migration of your Power Platform data across your environments. Depending on your organization’s volume of data, migration requirements, and the number of environments, migrating between these environments can be a pretty complex task.
Moving apps and flows from one environment to another (or even cross-tenant and within tenants) natively is manual, time-consuming, and can be a headache to IT teams – even requiring extensive workforce and skills. But with a SaaS-based migration tool, organizations can seamlessly migrate Power Platform data between environments consistently and efficiently throughout the migration process and across different environments, such as development, testing, staging, and production.
This centralized approach simplifies the management of multiple environments, reduces the risk of errors or inconsistencies, and improves collaboration among teams working in different environments.
When you’re managing a large and complex migration project
Dealing with large-scale migration projects involves an intricate and time-consuming process of extracting and transferring data from extensive data repositories across multiple systems. The sheer volume of data in such projects can be overwhelming, and the need to ensure uninterrupted business operations during the migration further complicates the process. These complexities make on-premises migration labor-intensive, prompting many organizations to consider alternative solutions, such as SaaS-based migration tools, to simplify the process and mitigate risks.
A SaaS-based migration tool can handle the scale of these projects by providing features like automation, batch processing, and parallelization, which accelerate the migration process and efficiently handle large volumes of data and applications. It makes the process much more efficient and manageable for IT teams.
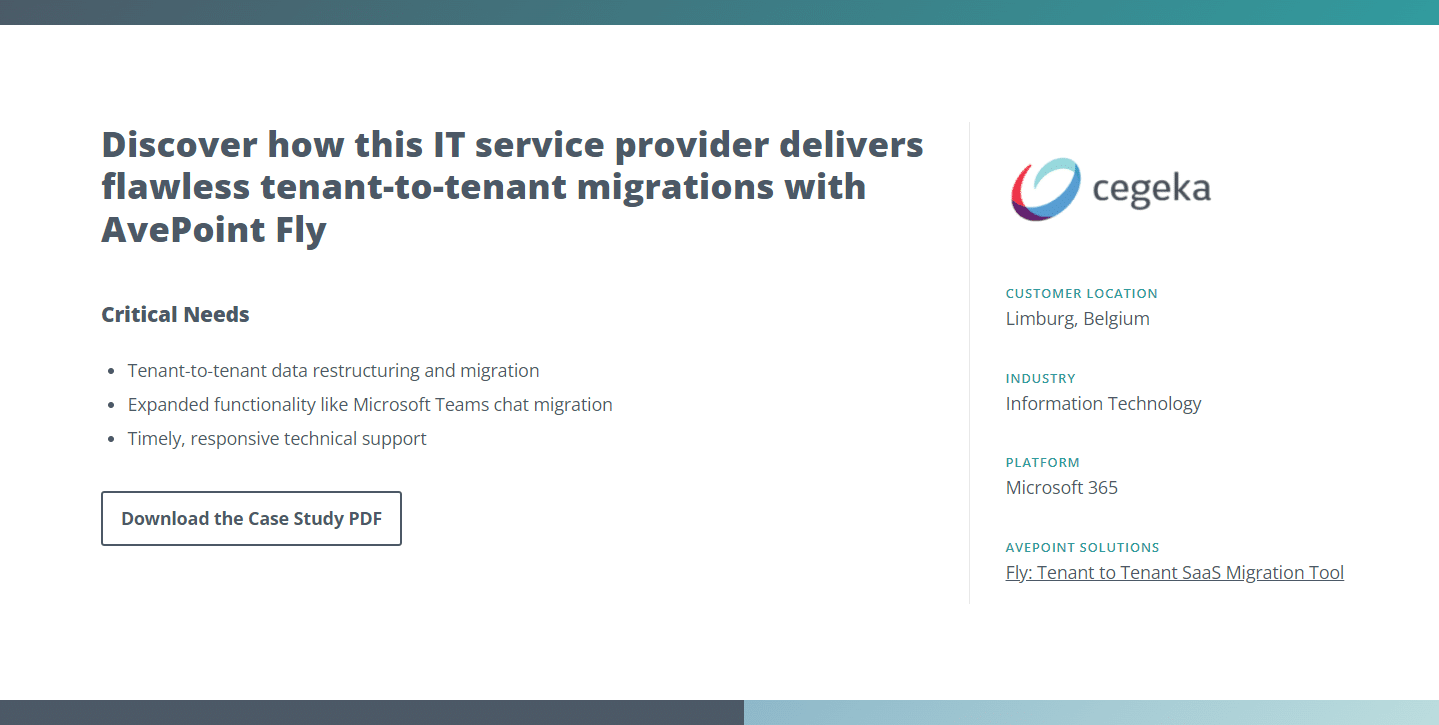
Discover how global food processing company Danish Crown reduced time spent on migrations by 50% while protecting 184+ TB of data from multiple sources.
Read case study
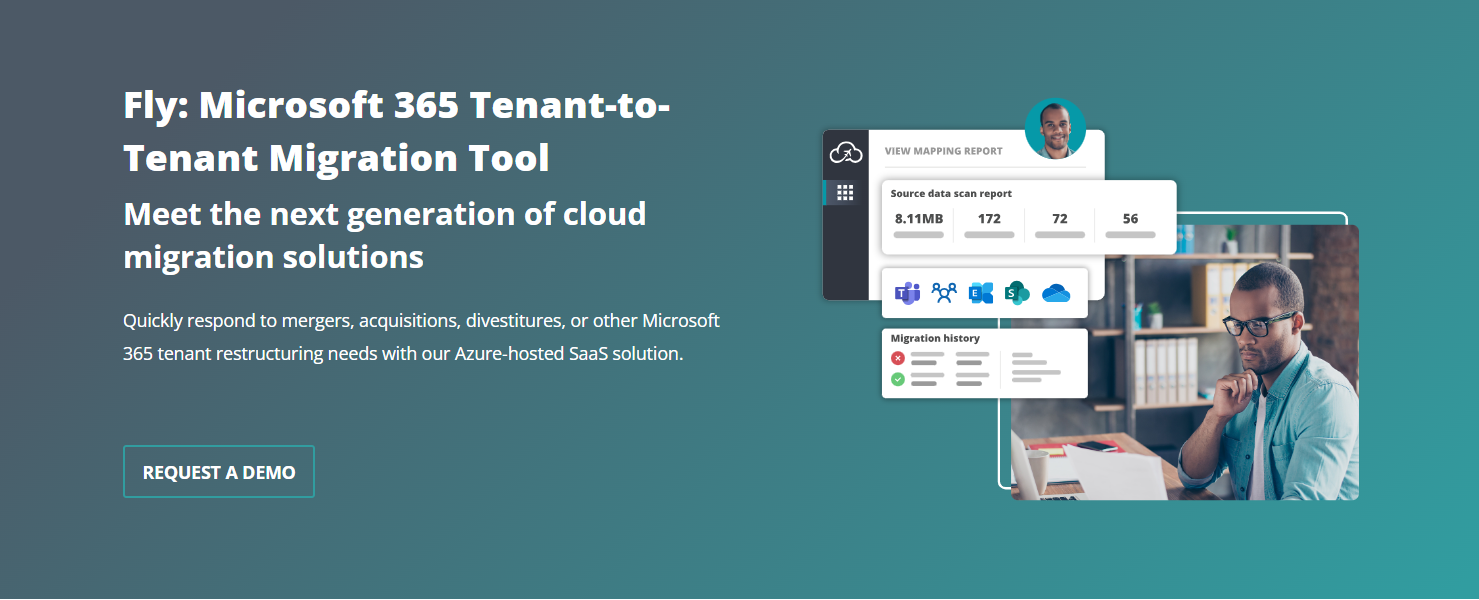
Drive Better Migrations with AvePoint Fly
Organizations must carefully evaluate their specific requirements, budget, and available resources before deciding which migrator option aligns best with their migration goals and overall IT strategy. Additionally, consulting with migration specialists or engaging with a SaaS provider can provide valuable insights and guidance to make an informed decision and execute a successful migration process.
With 20+ years of experience helping businesses move and transform their data to the cloud, AvePoint understands the complexities of migration requirements and the importance of ensuring business continuity pre-, during, and post-migration. With AvePoint Fly SaaS, seamlessly migrate your business-critical data across your SaaS applications and scale quickly according to your migration needs.
Take your Microsoft 365 migration to new heights. Gain access to AvePoint’s A Masterclass in Teams Tenant to Tenant Migration:
Watch on-demand
Here’s how AvePoint Fly SaaS can drive your migrations better:
Deeply integrated with Microsoft Azure
Businesses can take advantage of Microsoft’s vast network of data centers to execute migrations quickly and efficiently. Using Microsoft’s best practices, AvePoint Fly SaaS ensures migration throttling and downtimes are limited, reducing errors and making the process smoother.
Highly automated
The platform handles the migration process from start to finish, which reduces the need for manual intervention and the risk of errors. AvePoint Fly SaaS also provides robust reporting capabilities that allow businesses to monitor the progress of their migrations in real-time, allowing IT to track multiple migrations simultaneously. Lastly, discovering your systems and environment are already part of Fly SaaS’s coverage (without additional fees!) – ensuring compatibility, data integrity, and complete visibility of all your data from your source to your destination.
Easily scalable with comprehensive coverage
Fly SaaS can handle migrations of any size, from small-scale to large, complex projects involving massive amounts of data. It can also support multiple SaaS applications and migration requirements that even native Microsoft migration capabilities have limitations – such as Teams 1:1 and shared channel migrations. It also integrates with many other applications, including Microsoft Teams, SharePoint, and OneDrive, which benefits businesses using multiple tools.
Seamless user experience
Fly SaaS is easy to use and requires minimal training, which saves businesses time and resources. AvePoint also offers 24/7 tech support, which provides organizations easy access to assistance during the entire migration project.
As your organization weighs in on your migration requirements and the best tools for your migration needs, consider the efficiency and security of executing your migration project. AvePoint Fly SaaS has powerful capabilities that help IT teams reduce risk and streamline migration. It also offers advanced capabilities that are mostly not feasible with native migration tools.
Learn how to kick off your SaaS migration with AvePoint Fly SaaS. Request a free demo today.